I’ve been staring at a catalog of seed potatoes for months. I feel like I’ve seen every variety of organic seed potatoes, and I’ve fallen in love with them all. Of course, next to chocolate, potatoes are my favorite ingredient. So, I was bound to be fascinated with the idea.
But I live in Southern California. And it is May. Which means warm weather is coming. My only saving grace is that I live in an area with heavy fog in the morning, so maybe my seed potatoes won’t fry before they sprout.
I decided to try.
Here is where we are so far:
Step 1: How to Choose Your Organic Seed Potatoes
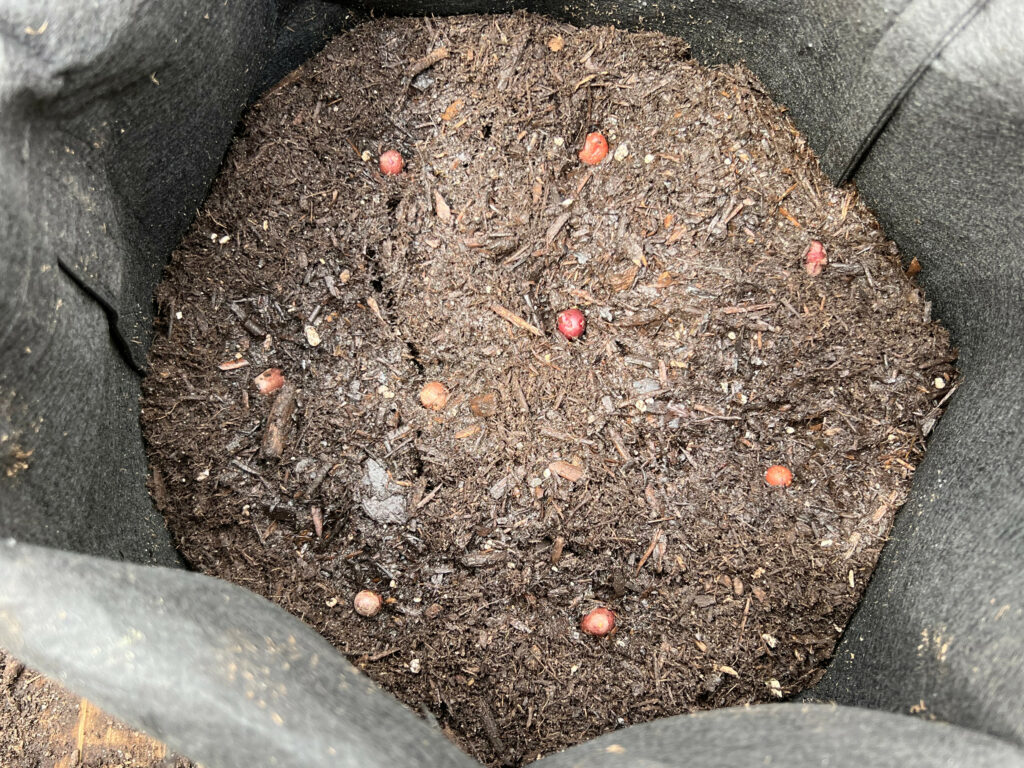
I went with micro tubers because we don’t have a ton of room. My first choice was an Adirondack Blue variety. It’s gorgeous — purple through even after cooking. The package came with 10 micro tubers. I planted them on April 19th in grow bags. Fingers crossed!
For my second set of micro tubers, I went with Ciklamen. They have a unique, creamy taste. They mature early and tend to be disease-resistant. They are so tiny, though — hard to believe that these are going to produce enough for us to enjoy. Still, it’s worth the experiment.

Step 2: Where Do You Buy Seed Potatoes?
I chose to buy our organic seed potatoes from Baker Creek Heirloom Seeds. However, local nurseries can undoubtedly provide you with the seed potatoes directly or help you source them. I chose Baker Creek because I’ve had excellent luck with their organic tomato seeds. And I just planted some organic sweet bell pepper seeds.
Step 3: Should I Chit?
This is my first time growing potatoes, so I’m really winging it. I did chit the potatoes—I waited until there was some eye growth before planting them. But I don’t think you actually have to do it. I chose to do it in hopes that they would mature before the serious heat settles into SoCal. If you want to learn more about chatting potatoes, I highly recommend tuning into Epic Gardening’s YouTube channel.

Step 4: What Equipment Do You Need?
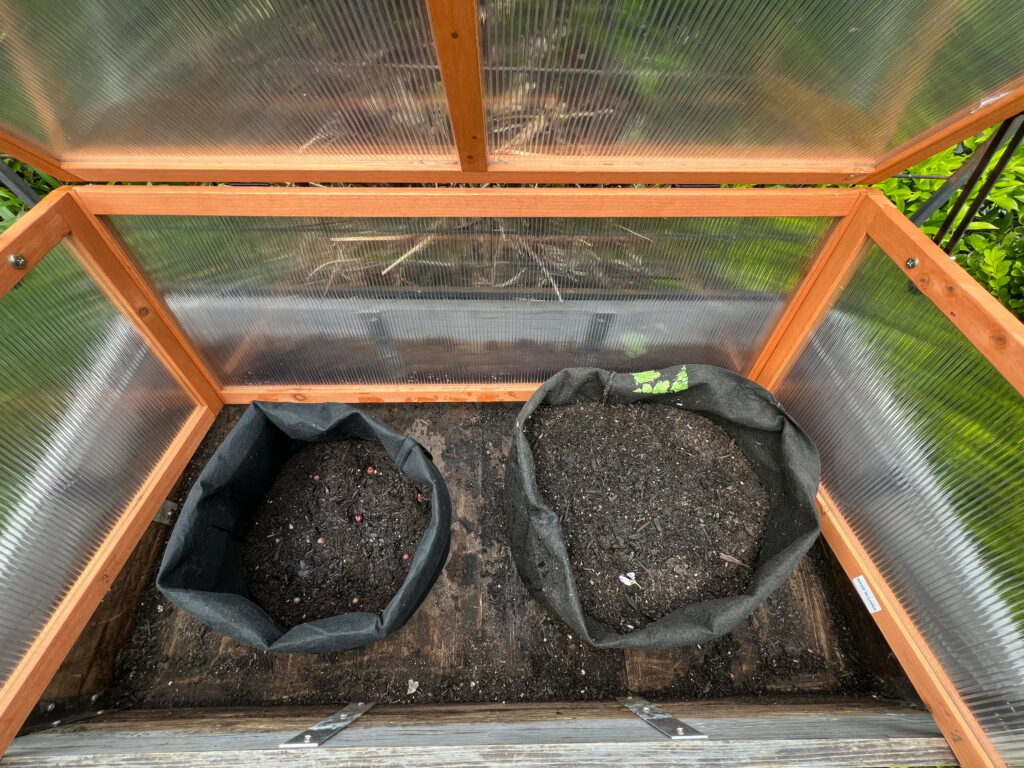
Honestly, this is a pioneer crop. You could dig a hole, toss a couple in, and come up aces. But I have limited space. So, I used grow bags. I planted six micro tubers in each bag. They are rolled down so that as the leaves grow, I can “hill up” and add more soil to allow for more potato growth. I keep the soil moist but not sopping. The bags are in a cold frame, but that’s more about keeping the neighborhood cat out of the grow bags than any concern of frost. It also acts as a greenhouse, which gives a nice boost to seedlings when temps are still routinely high in the mid-60s.

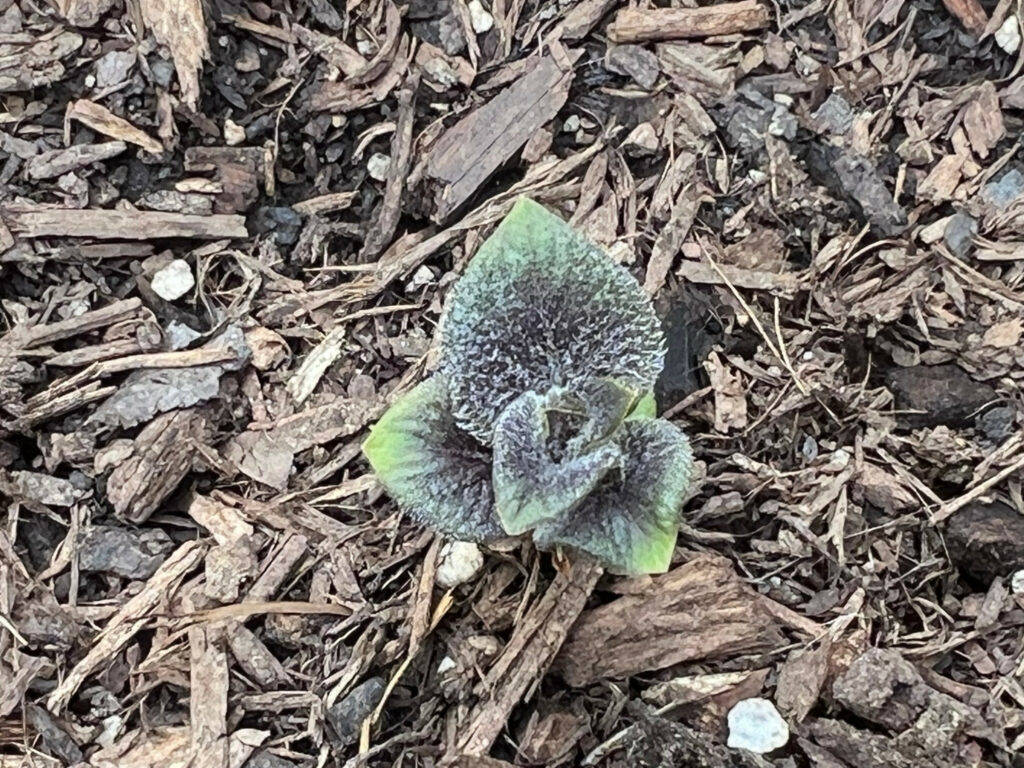
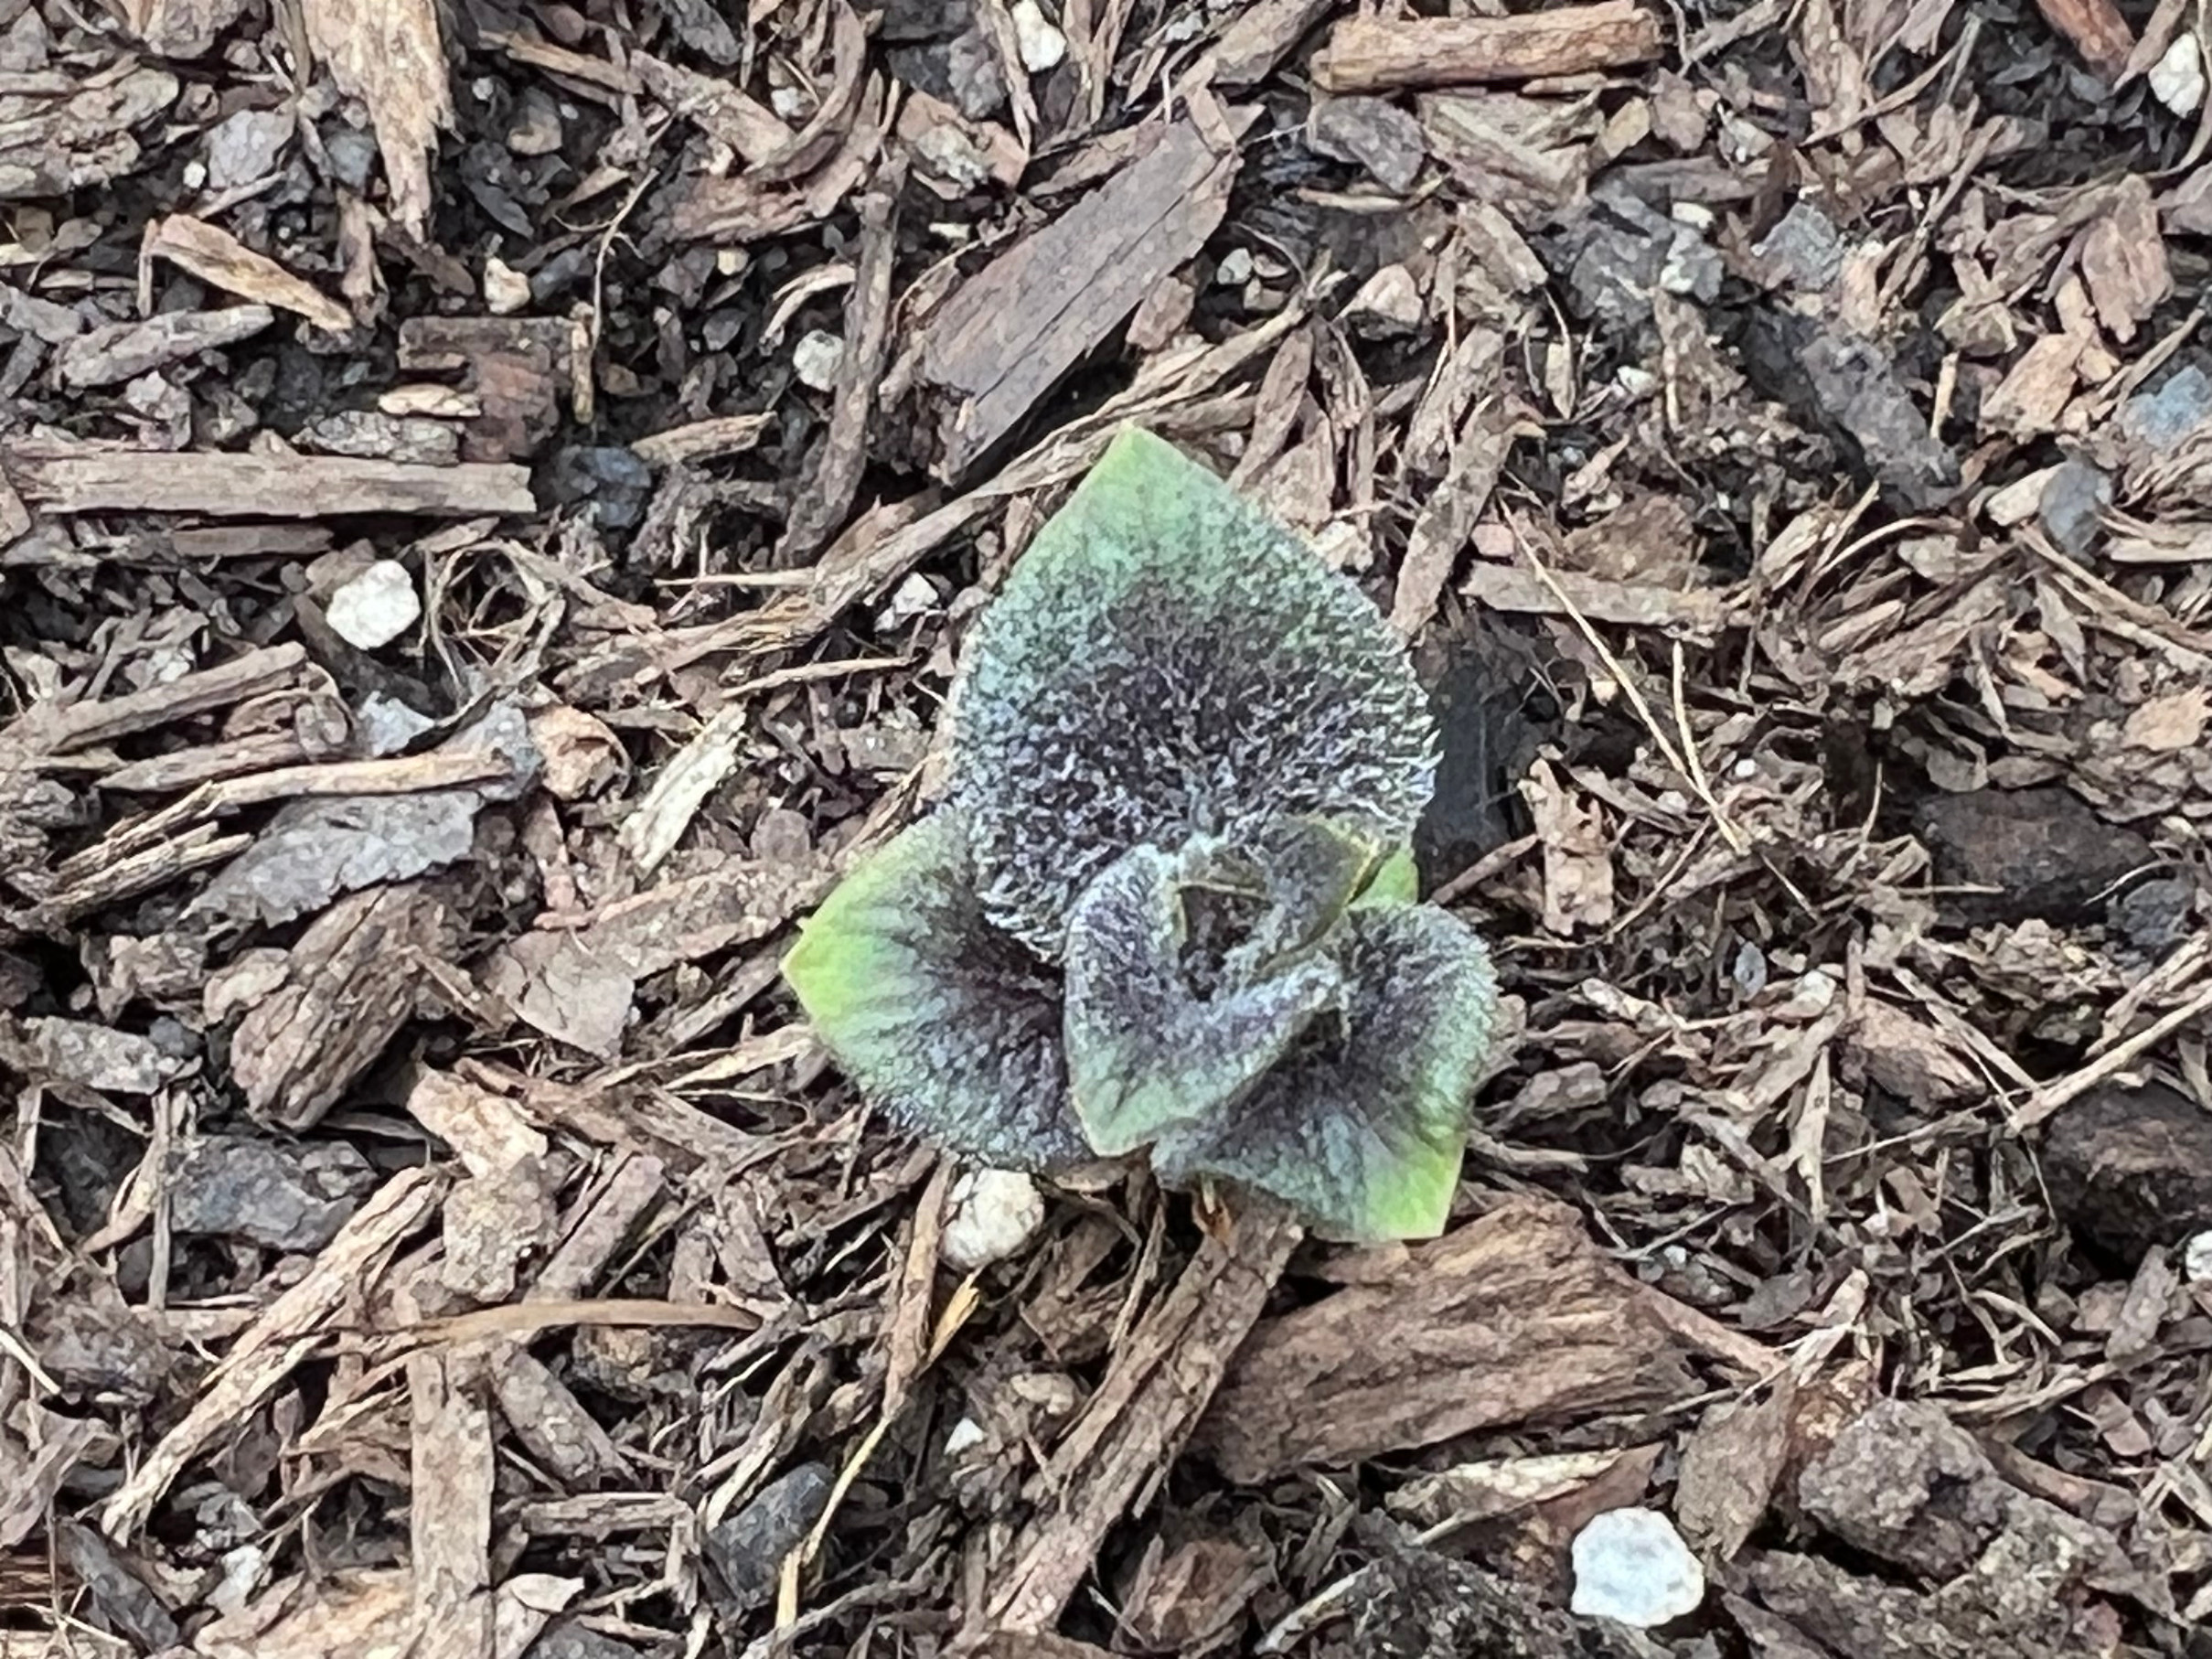
This is where we are. I’m excited to see what happens. When I spotted the little leaves shooting up from the Adirondack Blue grow bag, you would think that I had won the lottery.
Check back to see how the little seed potatoes are progressing! Maybe I’ll even make a video of myself trying to hill up without getting potting mix all over my clothing.
Click here for more articles on growing vegetables and fruits in container gardens.
P.S. The cold frame is an affiliate link for Amazon. If you buy the cold frame using this link, I might get a small commission.
