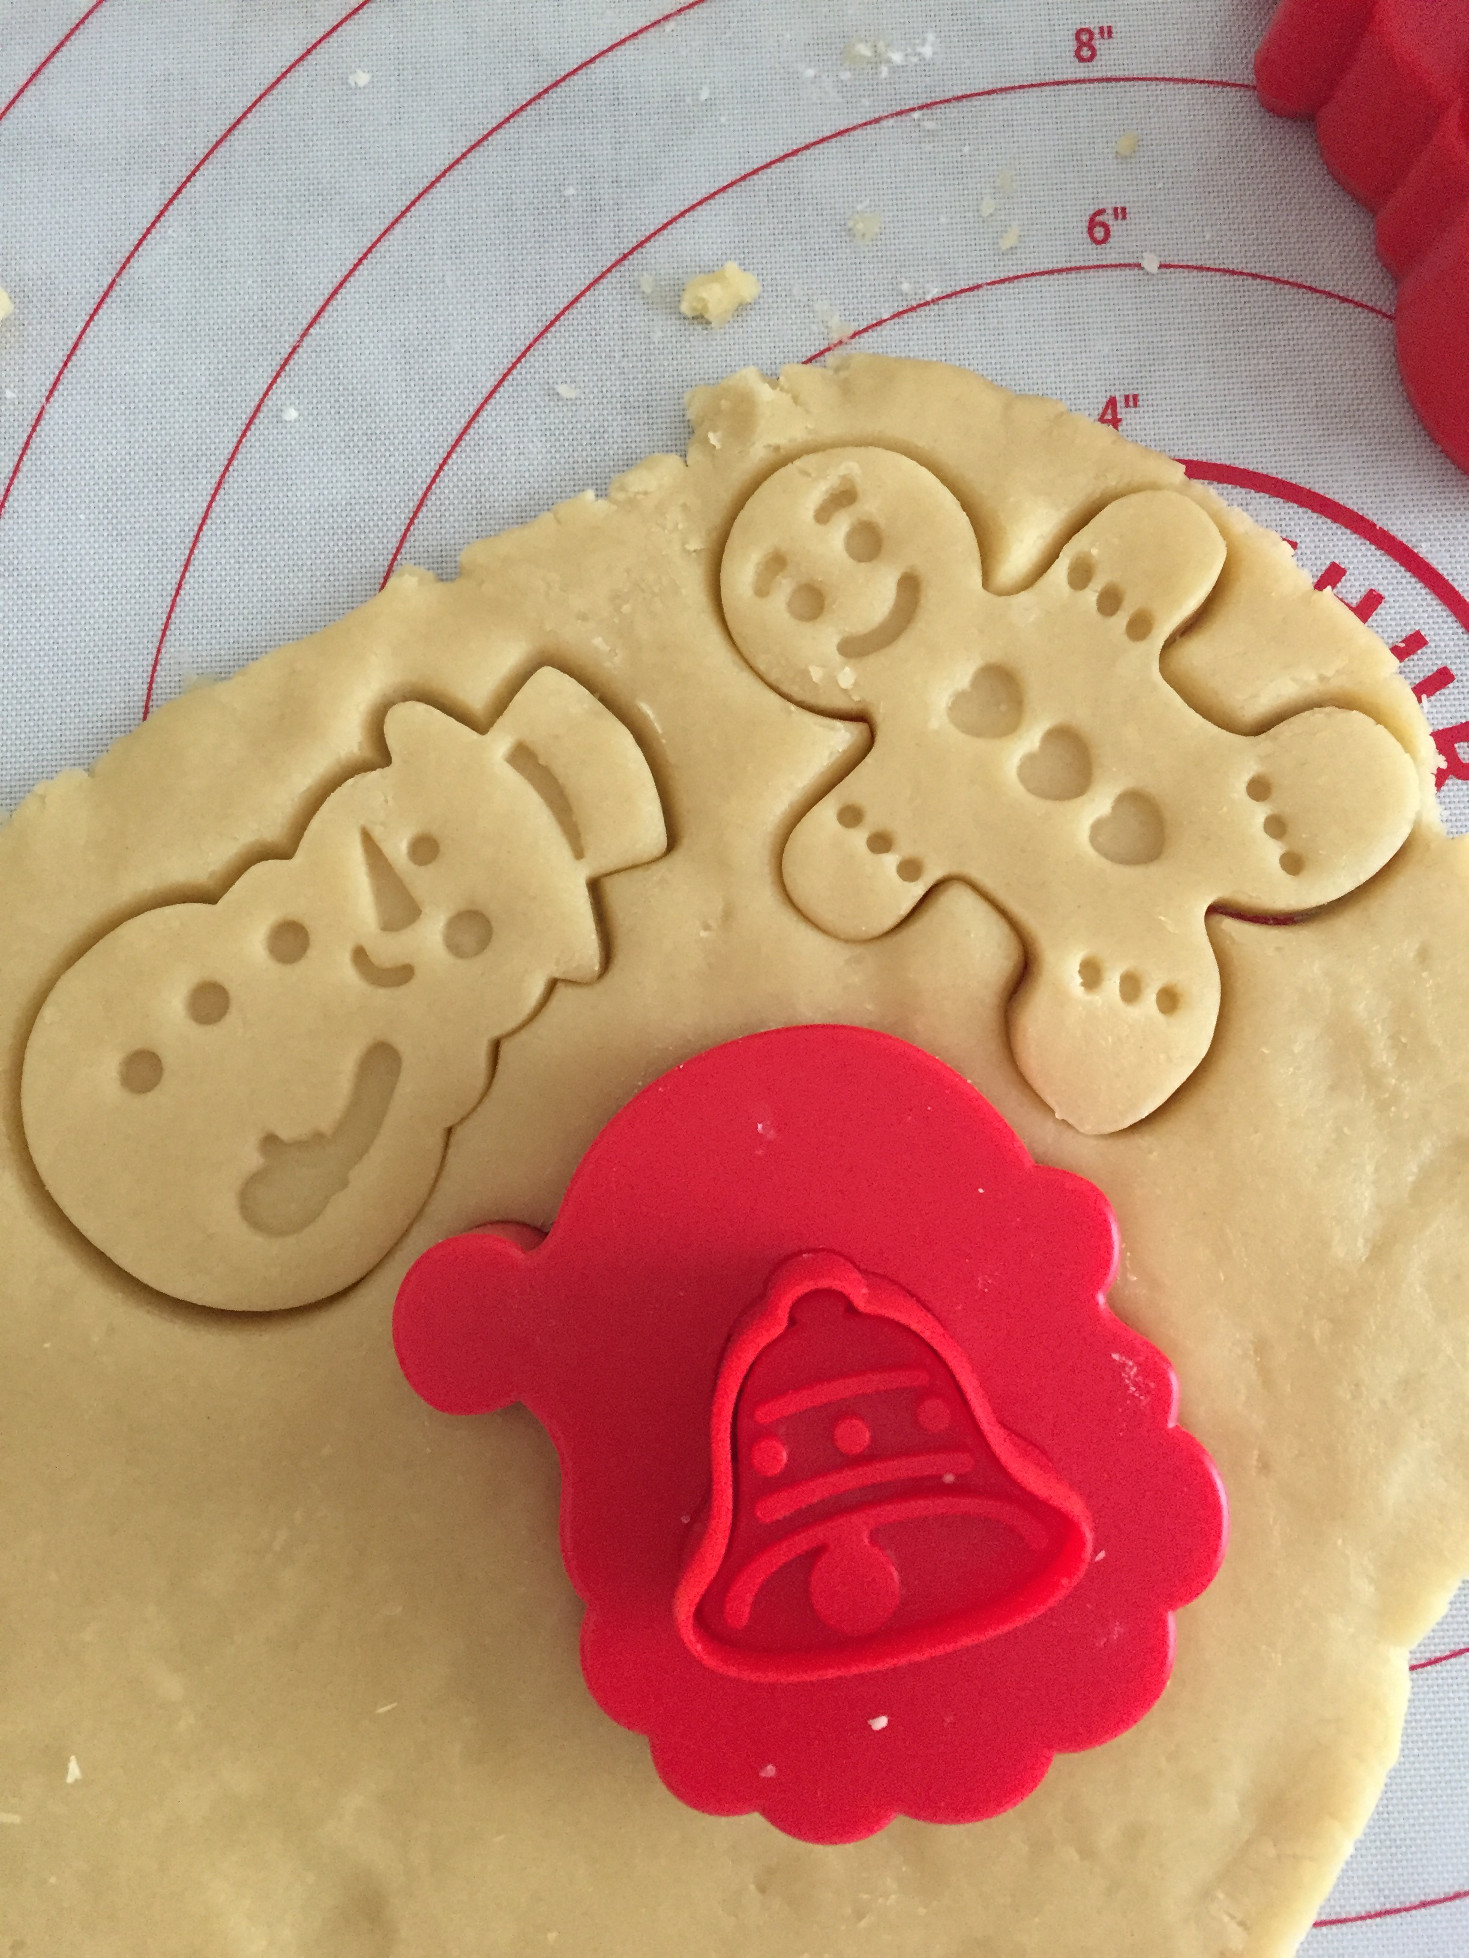
When I was little, I used to help my mom make Christmas sugar cookies. And when I say help, it was probably more like decorating. More icing and sprinkles got on me than on the cookies. However, I remember those times so fondly, and I still love those cookies. So, if you are looking for an easy, delicious Christmas sugar cookie recipe, you have come to the right place.
Note: This Christmas sugar cookies recipe is based on the one from the Better Homes & Gardens New Cookbook (released in 1962).
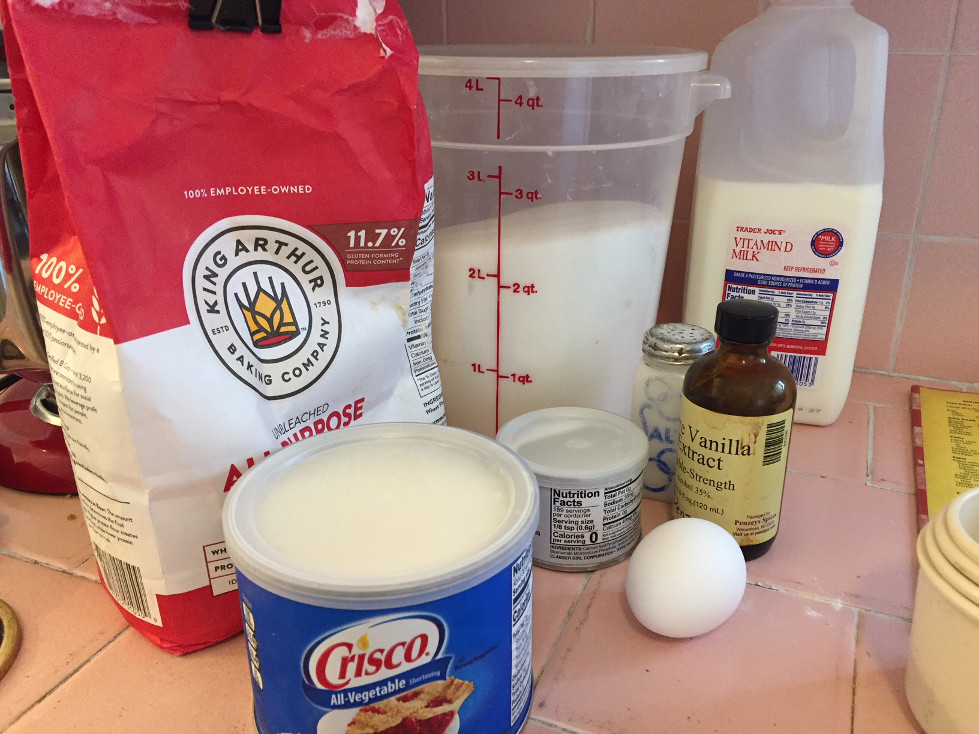
Sugar Cookie Ingredients
2/3 Cup Cold Shortening
¾ Cup Cane Sugar
½ Teaspoon Pure Vanilla Extract (I use Penzeys, which is double strength)
1 Large Egg
4 Teaspoons Whole Milk (I have substituted Oat Milk on occasion, and it works just as well)
2 Cup Sifted All-Purpose Flour (I use King Arthur)
1 ½ Teaspoons Baking Powder
¼ Teaspoon Salt
Cookie Icing Ingredients
3 Cups Confectioners’ Sugar (Powdered Sugar)
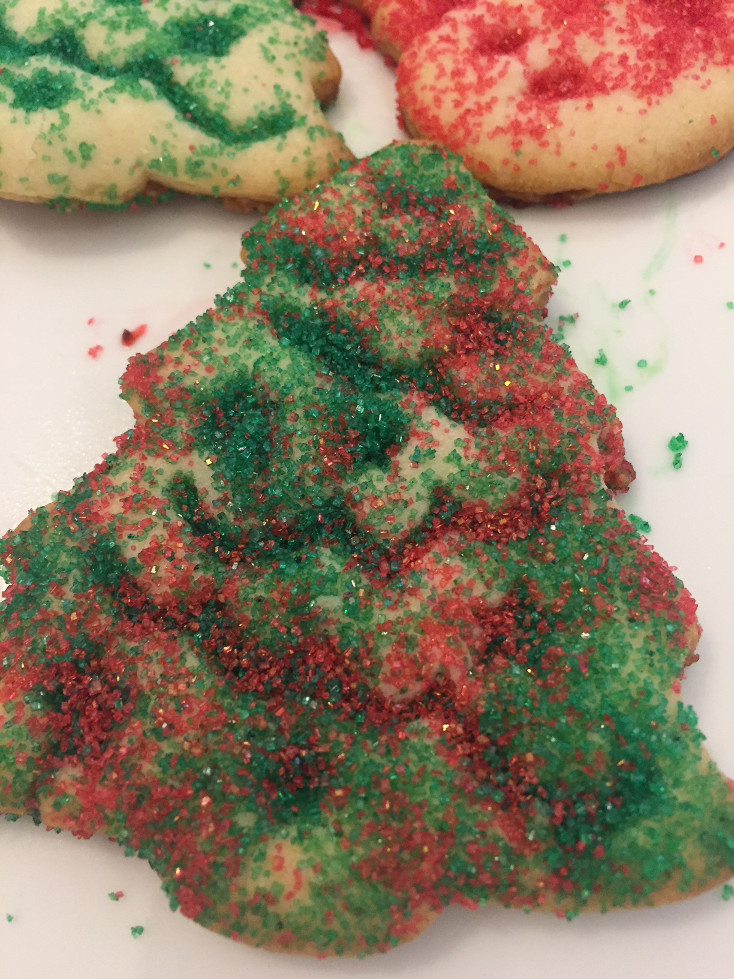
3 Tablespoons Whole Milk
2 Tablespoons Light Corn Syrup
½ Teaspoon Vanilla Extract
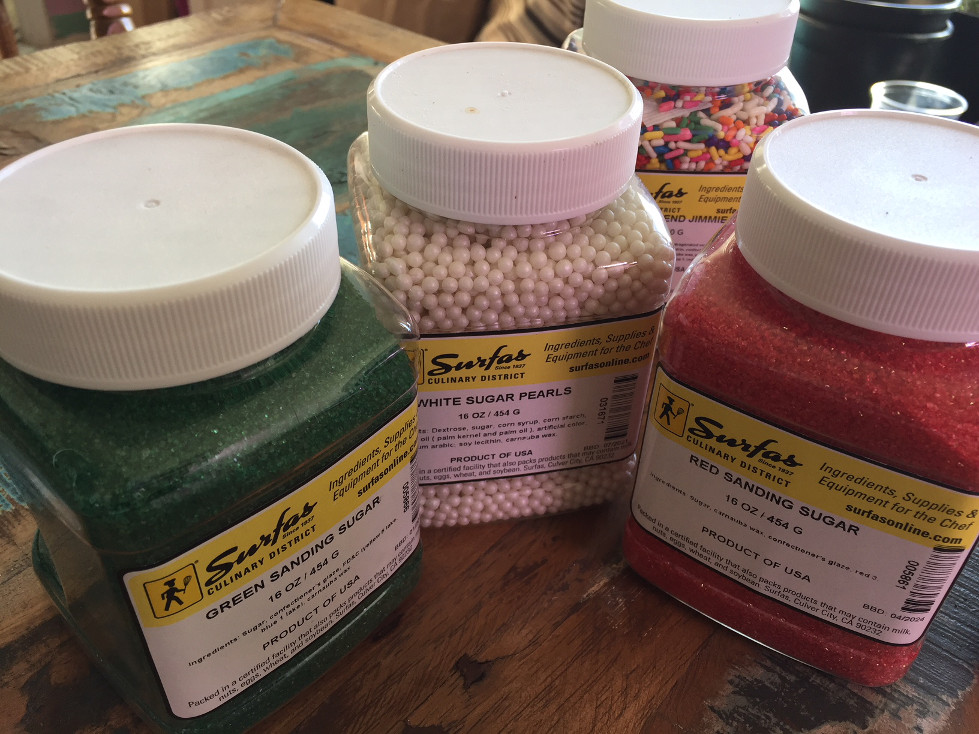
Sanding Sugar, Sprinkles and Candies (optional)
Unique Recipe Tools
Cookie cutters (I got my newest double-sided ones from King Arthur)
Piping bag and tips
Christmas Sugar Cookies Recipe Steps
Step 1 Cream the shortening by blending the shortening, cane sugar, and vanilla extract. I used a stand mixer until it was smooth, but you can easily use a hand mixer, as well.
Step 2 Add the egg into the creamed shortening and mix until the batter looks fluffy.
Step 3 Stir in the milk.
Step 4 Sift together the dry ingredients (Flour, Baking Powder, and Salt) into a separate bowl.
Step 5 Slowly add the dry ingredients to the wet mixture and stir until combined (but be careful not to overmix).
Step 6 Remove the cookie dough bowl and separate it into two batches. Wrap in cling film (or cover the containers) and place the dough into the refrigerator to chill for 1 hour.

Step 7 Pre-heat over to 375 degrees F.
Step 8 Lightly flour your worktop or baking mat.
Step 9 Take out the first batch of dough and roll it out onto the work surface. You are striving for dough that is approximately 1/8 of an inch thick but don’t stress if it isn’t perfect. Just keep in mind that thicker raw cookies will take longer to bake than thinner ones.
Note: If the dough seems to be too crumbly or breaking a lot as you roll it out, add some water to your hands and re-roll the dough to slightly dampen it. The crumbly texture comes when there was too much shortening in the dough. It’s an easy fix!
Step 10 Prepare your baking sheets with parchment or lightly grease them. I prefer using parchment to keep them from burning, and it’s easy to reuse for multiple batches.
Step 11 Use your Christmas forms to cut out the dough.
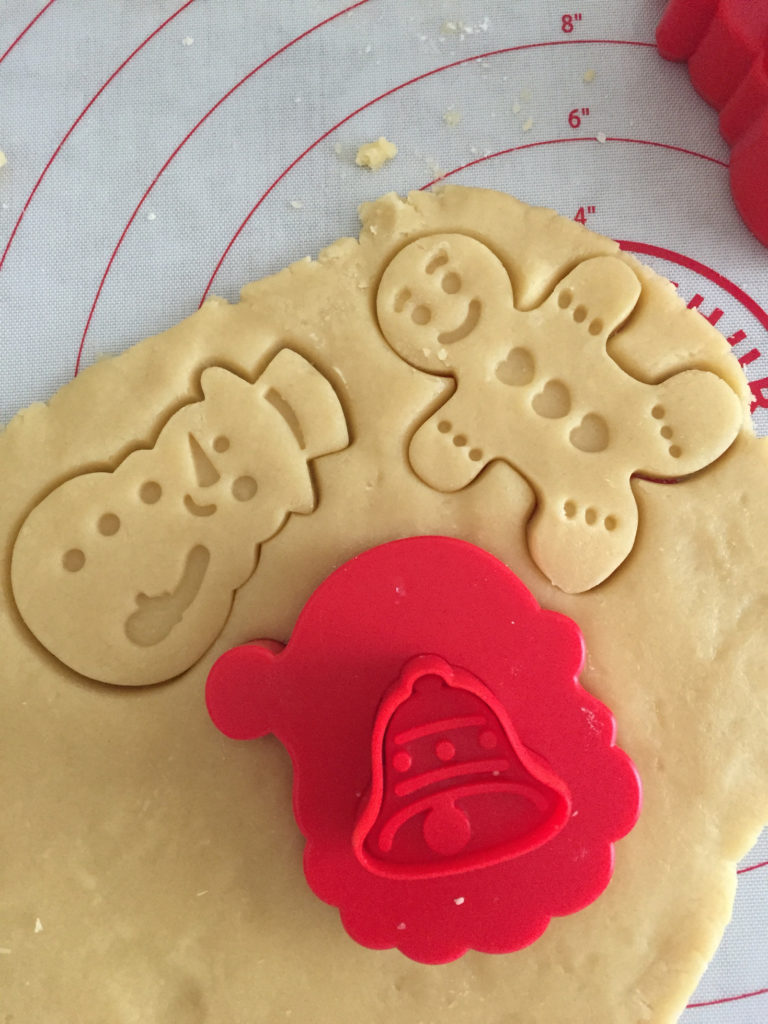
Step 12 Place your shaped Christmas sugar cookies onto your prepared baking sheet.
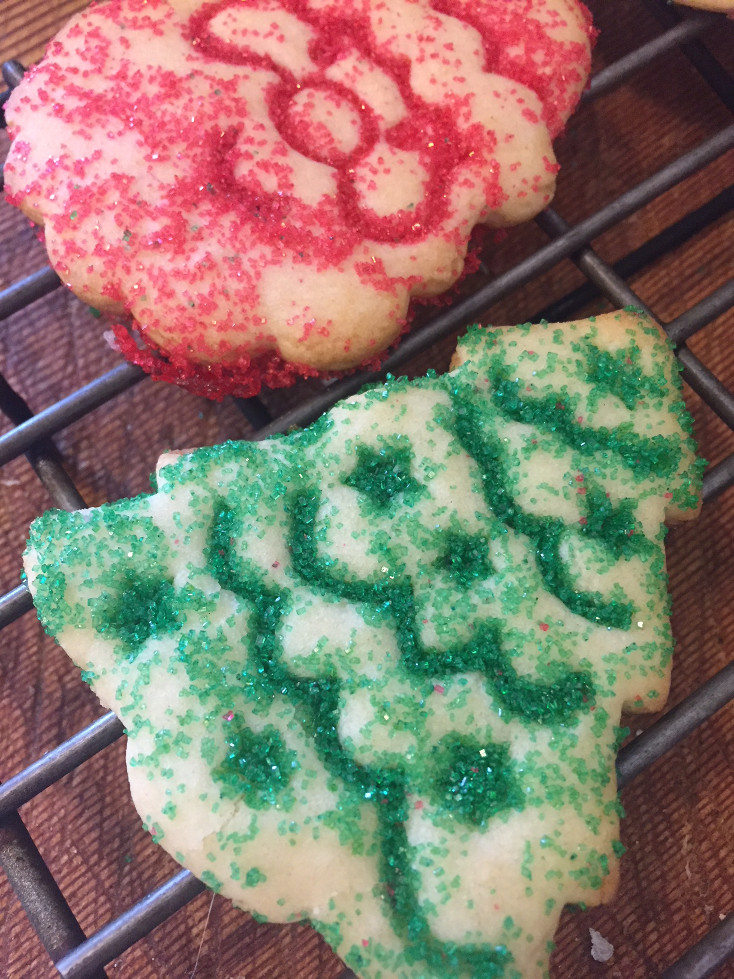
Step 13 If you are decorating with sanding sugar, you can add it now before you bake. If you are icing first, you’ll bake these and then add all the decorations once they have cooled.
Note: While sanding sugar can be baked, sugar pearls should not be — they’ll turn a different color in the oven.
Step 14 Bake on the middle oven rack for 7-9 minutes. We landed closer to the 7-minute mark – you can see how the edges caught slightly when we went the full 9 minutes in our gas oven. I also chose to only put in one baking sheet at a time.
Step 15 Cool baked sugar cookies on a rack. The cooler they are before icing, the less the icing and other decorations will melt.
Note: I’m not going to lie. I often make sugar cookies and just eat them without frosting or other decorations. They are just so good! Also, I’m not great at decoration, as you will soon see.
Directions For the Icing
While the cookies are baking and cooling, create your icing and get out your decorations.
Step 15 Mix the confectioners’ sugar, 2 tablespoons of whole milk, light corn syrup, and vanilla until thoroughly combined. You want an icing that can be easily piped or spread with a pastry brush. So, if it seems too thick, slowly add in more milk until it is the right consistency.
Step 16 Pour out each of your decorative items (sprinkles, chips, candies, etc.) into small bowls for easy access.
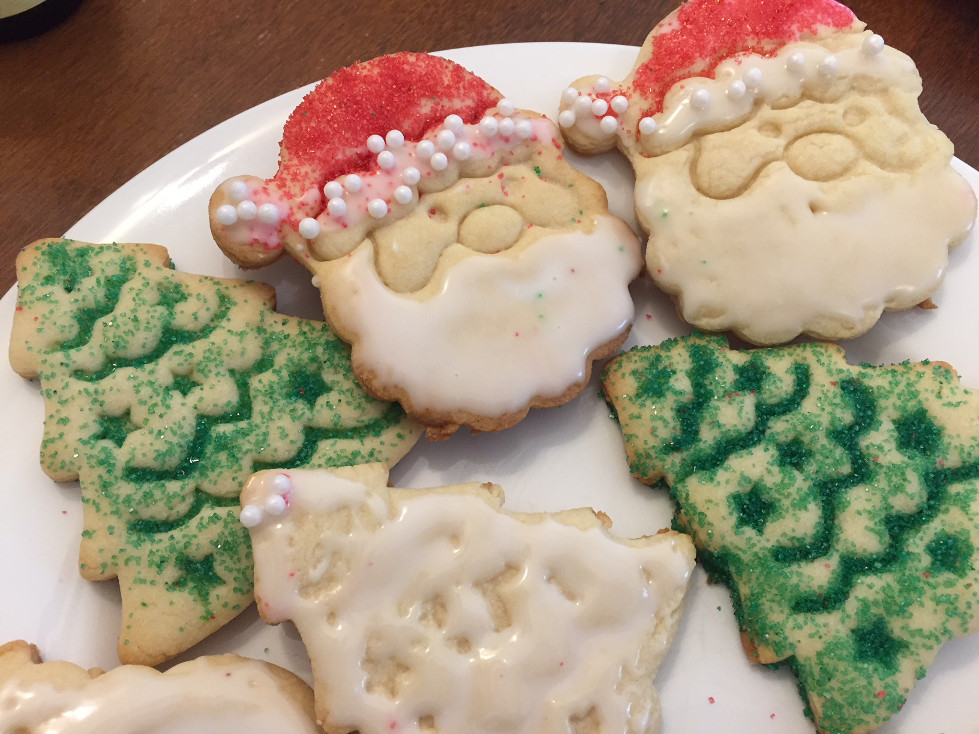
Step 17 Use a pastry brush for applying the icing broadly. You’ll find that piping is much more precise (at least, it is for me). So, if you are piping, fill a piping bag with your icing using a fairly narrow tip so that you have some control over the flow. It’s up to you to decide whether you want to flood a particular area with frosting, dot the icing, or create patterns.
Step 18 Add decorative elements to the frosted areas (the icing will help your decorative elements stick to the cookies).
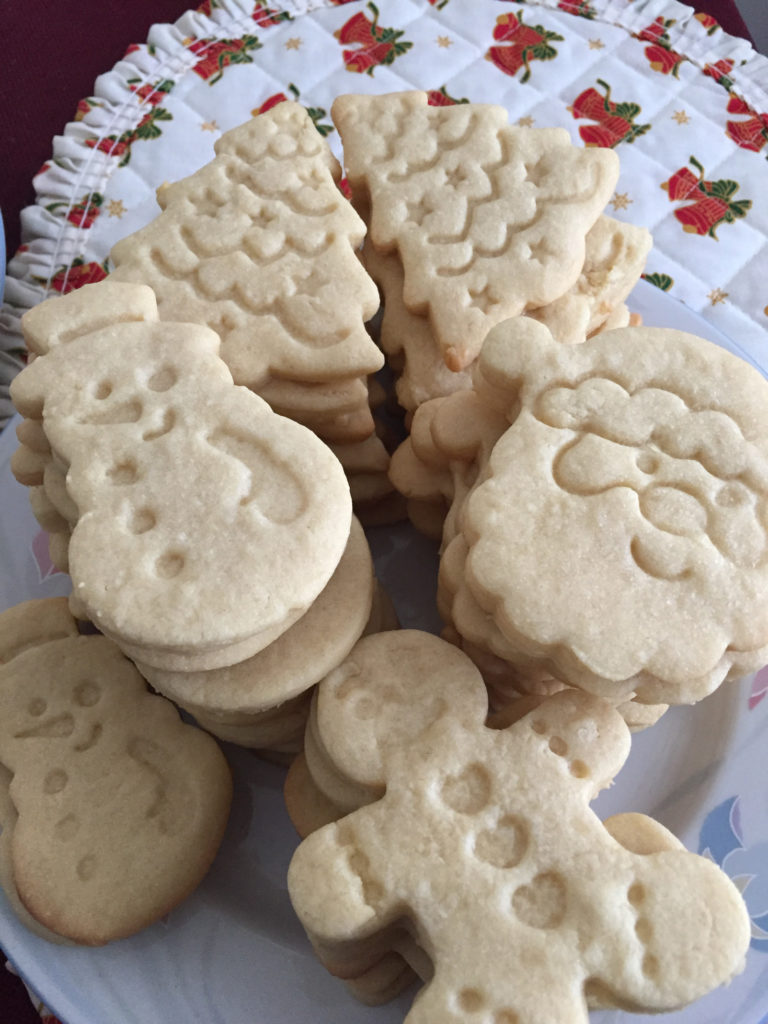
Step 19 Ready to serve!
We keep our extra cookies in an airtight cookie tin that my mom passed down to me. Even if you don’t have a cookie tin, the cookies should stay fresh in any airtight container. I recommend not refrigerating the cookies – I keep them in their tin on the counter, and they stay fresh at room temperature.


For more food and wine recipes and discoveries, click here.
