I went searching for ideas for a snack that might be healthier than my usual choices, and I happened upon people talking about a roasted chickpeas recipe. Crispy and seasoned with sea salt and a wide range of other flavors, roasted chickpeas are reasonably quick to make and take very few ingredients. If you are intrigued, read on for my first, but not the last, roasted chickpeas recipe.
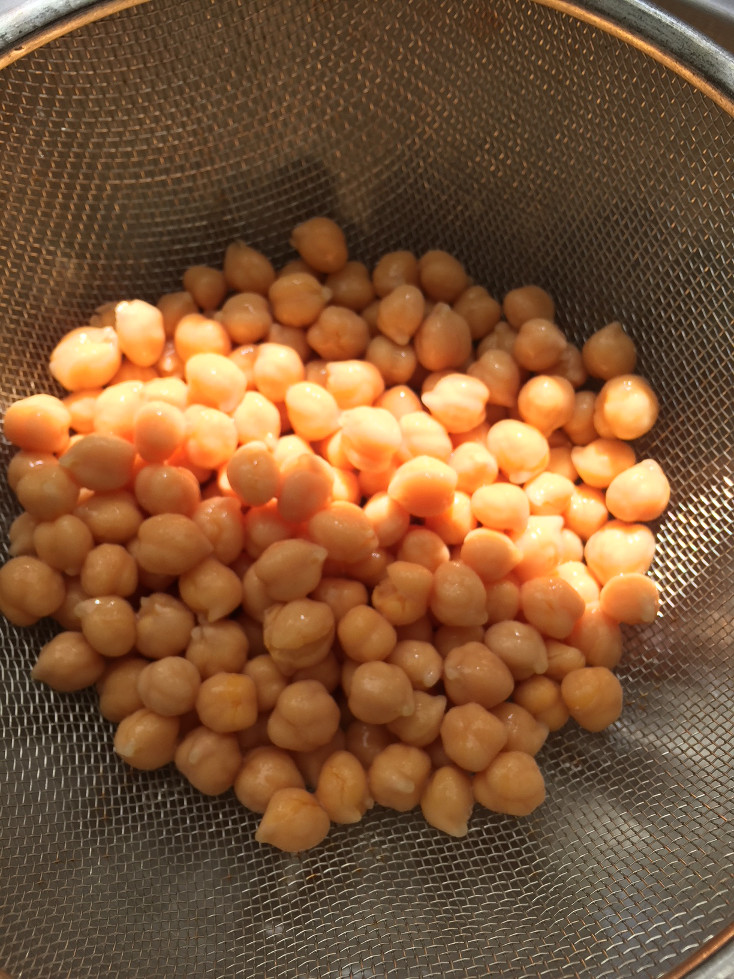
Roasted Chickpeas Recipe Ingredients
15 Ounce Can of Chickpeas (1/2 can for each batch)
2 Tablespoons of Olive Oil or Avocado Oil (1 tablespoon for each batch)
1 Teaspoon Ground Cumin
1 Teaspoon Garlic Powder
1 Teaspoon Fine Sea Salt (1/2 teaspoon for each batch)
Roasted Chickpeas Steps
Step 1 Pre-heat the oven to 400 degrees F
Step 2 Drain the can of chickpeas, saving the aquafaba to use as an egg substitute in other vegan dishes.
Step 3 Dry the chickpeas. Note: My favorite method is to roll the chickpeas between two textured kitchen towels before setting them aside to finish drying. This helps remove the skins (which is not critical, but they dry faster and cook crispier without the skins on them).
Step 4 Set aside the chickpeas to finish drying as you pick and measure your spices. I chose cumin and sea salt for one batch and garlic powder and sea salt for the other, but you can add whatever spices you like. I think Cayenne Pepper might be the next one.
Step 5 In one bowl, put half the chickpeas and drizzle with olive oil. Then, toss in the sea salt and cumin. Mix it well to coat the chickpeas thoroughly.
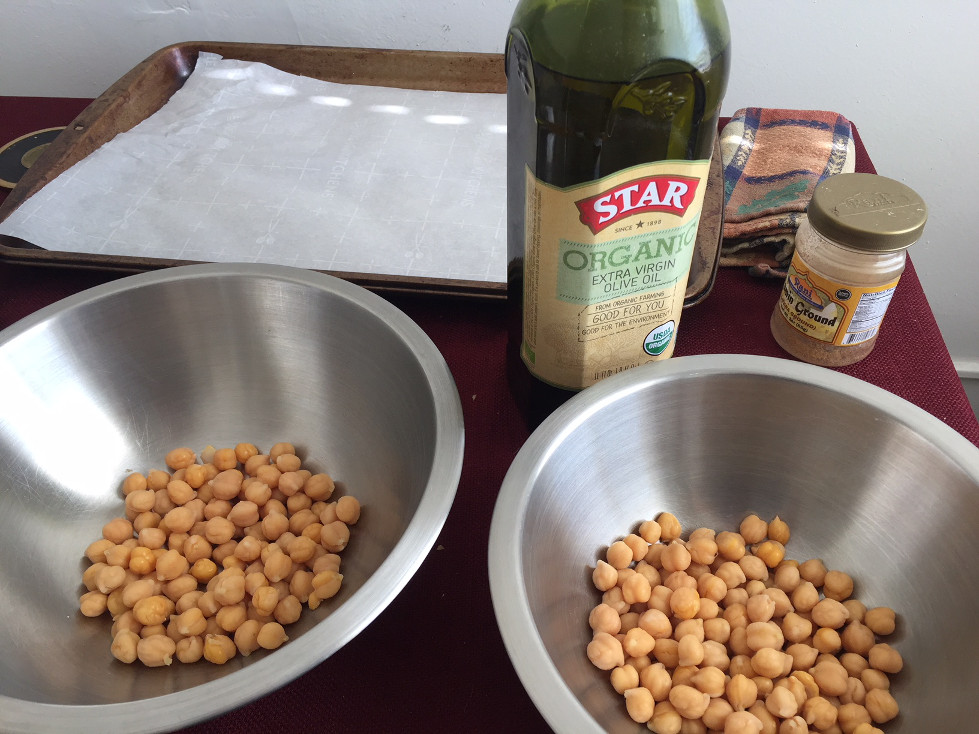
Step 6 In another bowl, put the other half of the chickpeas and drizzle with olive oil. Then, mix in the sea salt and garlic powder and stir for complete coverage.
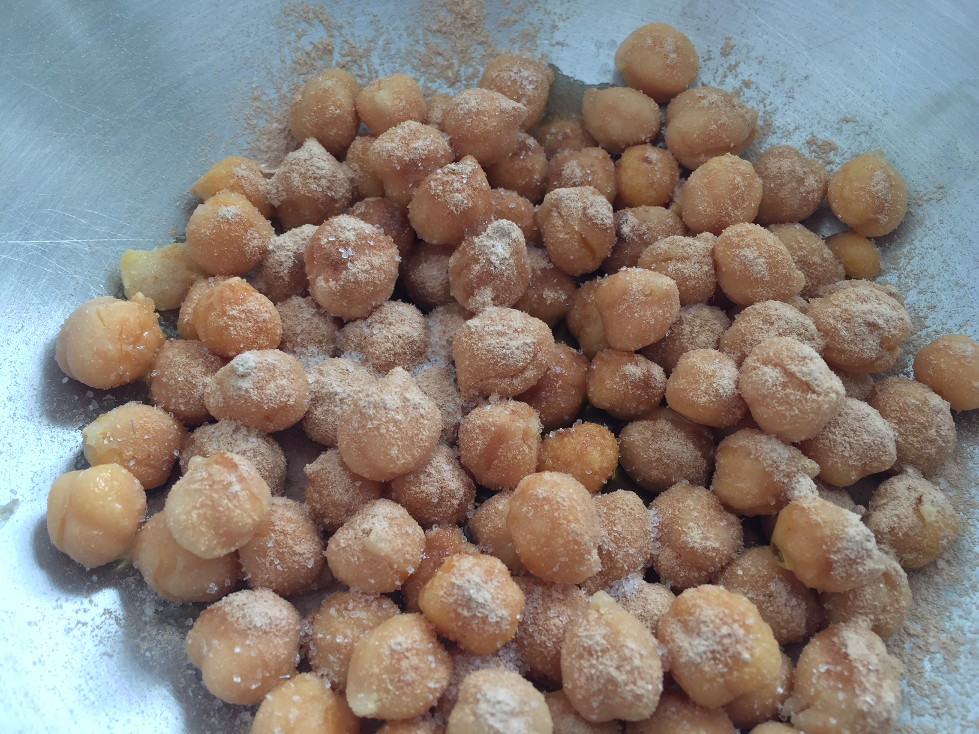
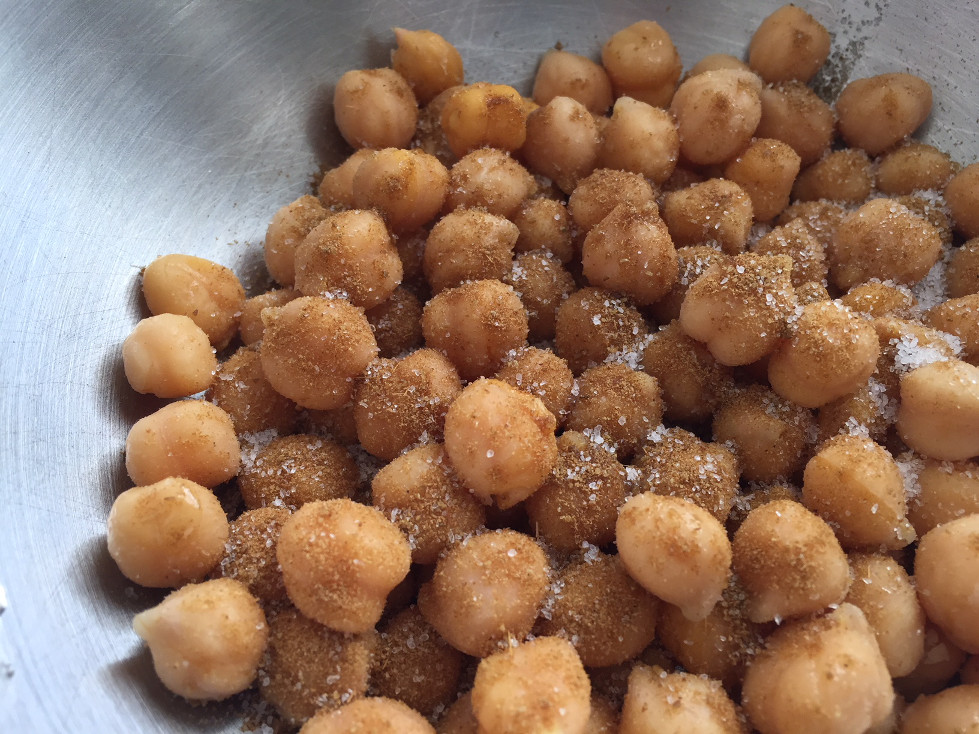
Step 7 Prepare a large baking sheet with parchment paper.
Step 8 Spread the chickpeas on the prepared baking sheets, splitting one half for each batch if you want to keep the flavors separate.
Step 9 Roast for 17 minutes on one side.
Step 10 Turn over the chickpeas to get a more even roasting.
Step 11 Roast for 15 minutes, but check to make sure that they aren’t burning.
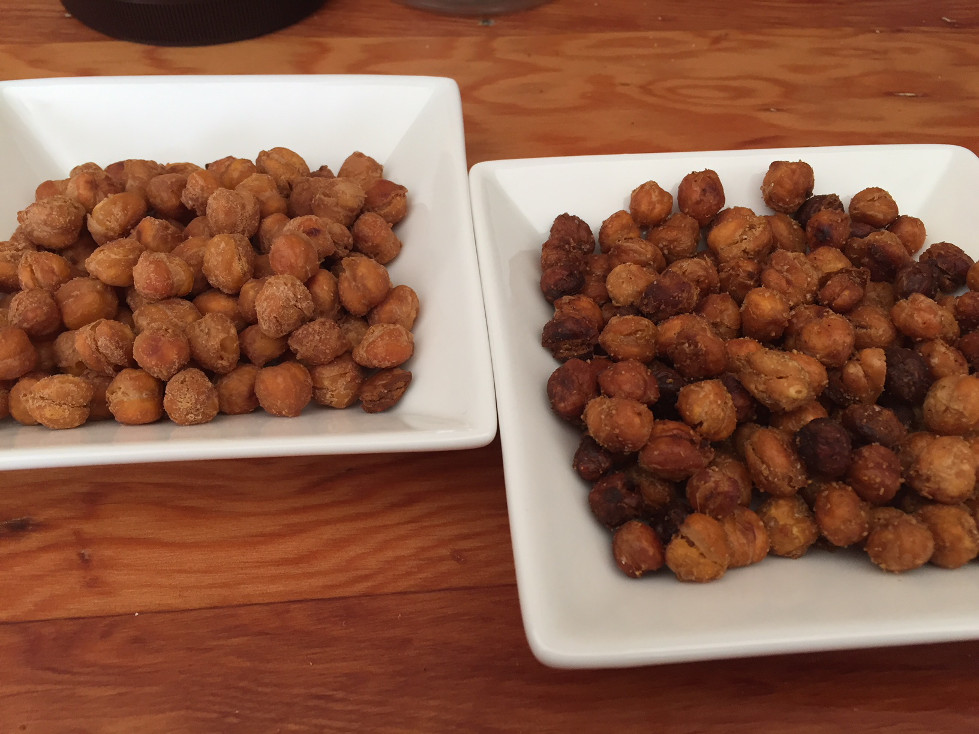
Step 12 Cool for at least 5 minutes before eating. Be sure that they are entirely cool before storing them in a jar or other container because they will lose their crispiness if stored warm.
Step 13 Enjoy on repeat!
For more of our food and drink discoveries, click here.